

Simple Instructions
-
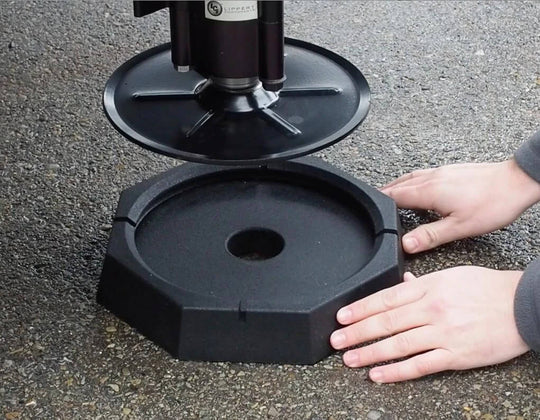
Step 01
Simply place the SnapPad underneath the metal foot of the RV. Grab a buddy to help you out. SnapPads are easier to install with two people.
For better installation, please ensure your leveling feet are clean, dry and free of defects.
-
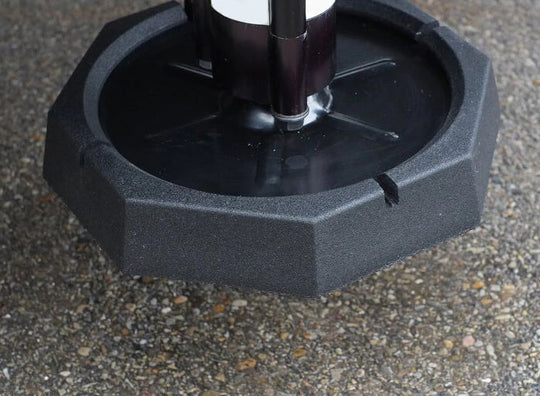
Step 02
Lower the foot into the cavity and continue to apply pressure until the lip wraps over the edge of the foot. You'll know it's in place by the distinctive snap!
We recommend using some dish soap around the inner lip to help snap it into place. WARNING: Do not use petroleum based lubricants (i.e. Silicone or WD 40), as this can erode the SnapPad.
-
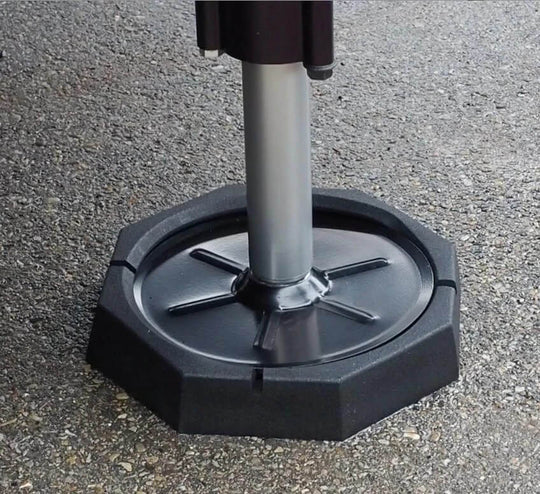
Step 03
Now your SnapPads are permanently installed and ready to effortlessly level your RV across any surface. It's just that easy.
Once installation is complete, wash off any excess soap and dry the foot/pad.
-
Step 04
Should your SnapPad not install, raise your foot 3 - 4", place a shim on the side of the pad that did not install, and lower the foot. The shim will help snap the pad into place.
CAUTION!
Be sure to keep your fingers away from pinch points while installing your SnapPad!


